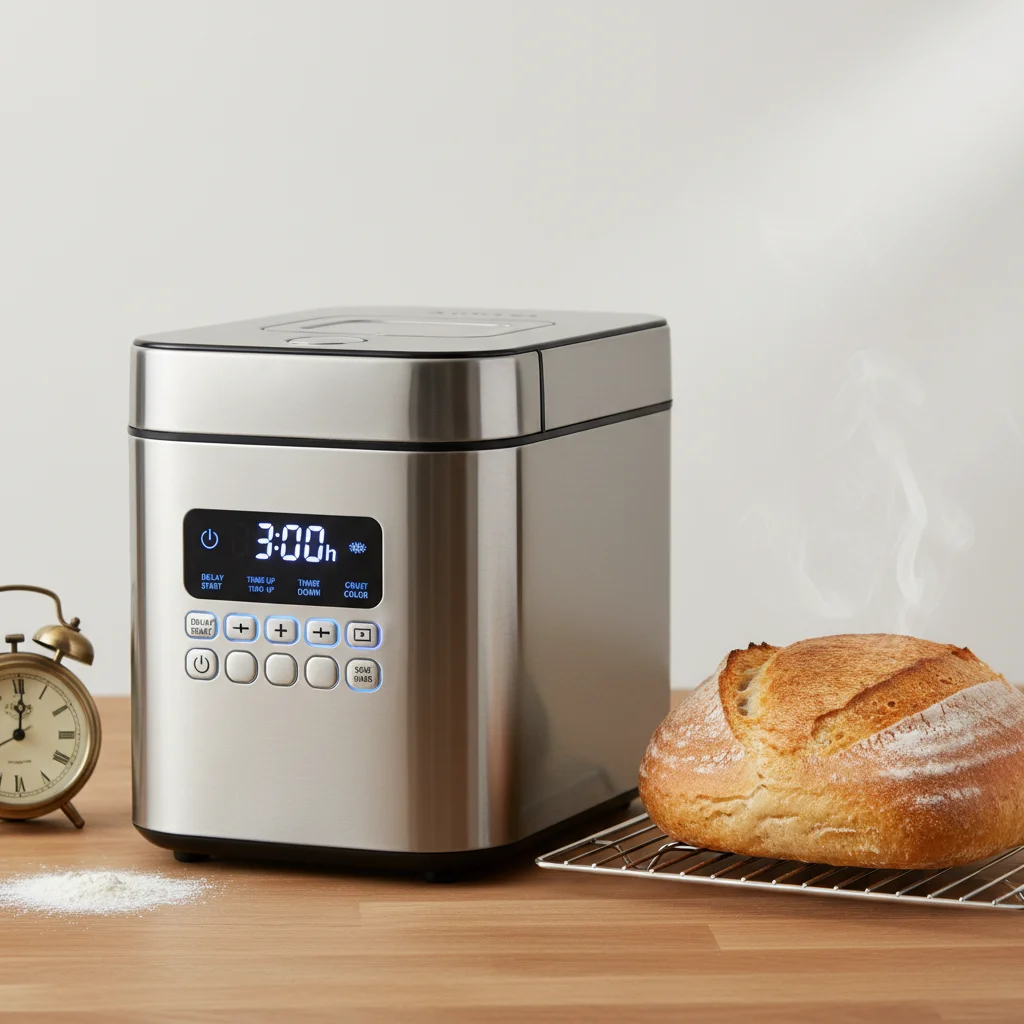
Bread maker timers are a valuable feature that can significantly enhance your baking experience, particularly for those with busy schedules. They allow you to add ingredients in advance and program the machine to start baking at a later time, ensuring a fresh loaf is ready exactly when you want it. This functionality is especially beneficial for waking up to the aroma of freshly baked bread or having a warm loaf ready for dinner.
Understanding Bread Maker Timer Functionality
Most modern bread makers come equipped with a delay timer, typically ranging from 12 to 15 hours. This feature works by allowing you to load all your ingredients into the bread pan, select your desired program, and then set the timer for when you want the baking process to begin. The machine will then automatically start at the programmed time, completing the kneading, rising, and baking cycles. It’s crucial to use cold liquids and ensure yeast does not come into direct contact with liquids or salt during the initial loading to prevent premature activation. For see our home kitchen recommendations on this site.
Benefits of Using a Delay Timer
The primary benefit of a bread maker delay timer is convenience. Imagine waking up to the smell of warm, freshly baked bread without having to lift a finger in the morning. This feature is also excellent for meal planning, allowing you to prepare ingredients the night before and have a hot loaf ready for lunch or dinner. It eliminates the need to be present during the entire baking process, freeing up your time for other activities. Furthermore, it helps maintain the freshness of your bread, as it’s baked closer to the time of consumption.
- Enjoy fresh bread on demand, perfectly timed for meals.
- Save time by preparing ingredients in advance.
- Avoid stale bread by baking closer to consumption.
- Convenient for busy mornings or dinner preparations.
- Reduces the need for constant monitoring during the baking cycle.
Tips for Optimal Timer Use
|
Our Picks for the Best Bread Maker in 2026
As an Amazon Associate I earn from qualifying purchases.
|
||
| Num | Product | Action |
|---|---|---|
| 1 | MERIOR 25-IN-1 Bread Maker with Visible Lid | 2lb Automatic Machine, Auto Nut Dispenser, 13-Hour Delay Timer, One-Touch Control & Recipes – Easy Operation, High Success for Homemade Bread |

|
| 2 | Rosewill 25-in-1 Automatic Bread Maker Machine with 3 Loaf Size up to 2 Lb, 700W High Power Dual Heater Bread Maker with BPA-free Nonstick Coating Pan, Max 15 Hours Delay Timer, Low Noise - Gray |
|
| 3 | Elite Gourmet Programmable Bread Maker, 2 lb Loaf, 3 Sizes, 19 Presets incl. Gluten-Free, Dough & Jam, Delay Timer, Black |
|
| 4 | Cuisinart Bread Maker Machine, Stainless Steel Automatic Bread Machine with 12 Menu Options, 3 Loaf Sizes up to 2 Lb., 3 Crust Colors, Removable Nonstick Baking Pan & Kneading Paddle, CBK-110NAS |
|
| 5 | Elite Gourmet Programmable Bread Maker, 2 lb Loaf, 3 Sizes, 19 Presets incl. Gluten-Free, Dough & Jam, Delay Timer, Mint |
|
| 6 | Zojirushi BB-PDC20BA Home Bakery Virtuoso Plus Breadmaker, 2 lb. loaf of bread |
|
| 7 | Bread Maker, 2.2LB 16-in-1 Bread Machine, Automatic Bread Maker Machine with Nonstick Ceramic Pan & 15H Timer & 1H Keep Warm for Beginner, Breadmaker with Gluten-Free, French, Yogurt, Recipe |
|
| 8 | 25-in-1 Bread Maker Machine with Automatic Dual Dispenser, 2LB Stainless Steel Breadmaker with Gluten-Free, Dough, Jam, Yogurt etc Settings, Silver |
|
| 9 | 2LB Bread Maker Machine, OSIPOTO 17 in 1 Automatic Stainless Steel Bread Machine, Non-stick, Beginner-Friendly Controls, 15 Hour Timer, Easy to Clean Low Noise, High Success Rate for Homemade Bread |
|
| 10 | Cuisinart Bread Maker Machine, Stainless Steel Convection Bread Machine with 16 Menu Options, 3 Loaf Sizes Up to 2 Lb., 3 Crust Colors, Includes Measuring Cup, Spoon & Kneading Hook, CBK-210 |
|
To get the best results when using your bread maker’s delay timer, always add liquids first, followed by dry ingredients, and place the yeast last, often in a small well made in the flour. This layering prevents the yeast from activating too early. For recipes containing perishable ingredients like milk or eggs, it’s advisable to limit the delay time to a few hours or opt for models with a specific ‘fruit and nut dispenser’ that keeps these items separate until the appropriate mixing stage. Always consult your bread maker’s manual for specific recommendations on delay timer usage and ingredient placement.
Consider a model like thewhich offers an impressive 15-hour delay timer, perfect for overnight baking. Its intuitive controls make programming straightforward, even for beginners. This particular model also features a keep-warm function, ensuring your bread stays warm for up to an hour after baking is complete, adding another layer of convenience to your baking routine.
Common Pitfalls and How to Avoid Them
One common issue with delay timers is premature yeast activation, leading to over-proofed or collapsed loaves. This can be avoided by carefully layering ingredients as described above. Another pitfall is using perishable ingredients for long delay times, which can lead to spoilage. Stick to recipes designed for delay timers or those with minimal perishable components for longer delays. Always ensure your bread maker is on a stable, level surface to prevent any disruption during the unattended baking process. Regular cleaning of the bread pan and paddle also ensures consistent results.
For those seeking advanced timer options, theprovides not only a robust delay timer but also custom cycle programming. This allows you to fine-tune the kneading, rising, and baking times to suit specific recipes or personal preferences, offering unparalleled control over your homemade loaves. It’s an excellent choice for experienced bakers who want to experiment with different bread types and textures.
