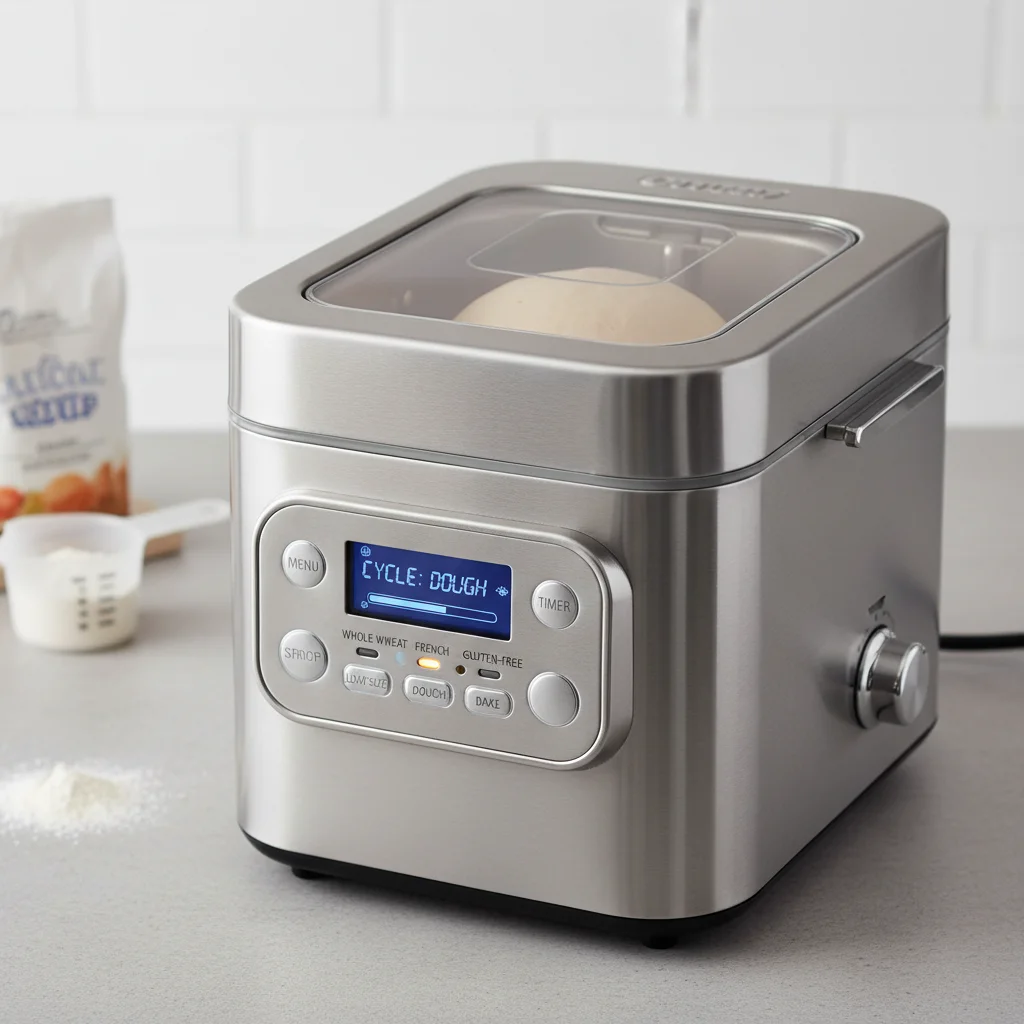
Understanding your bread maker’s settings is crucial for achieving perfect loaves, especially when navigating the differences between dough and bake cycles. While many modern bread makers offer a variety of pre-programmed options, the core functionality often revolves around these two fundamental cycles. This guide will clarify their distinct purposes and help you master your appliance for a wider range of baked goods.
The Dedicated Dough Cycle Explained
The dough cycle on a bread maker is specifically designed to mix, knead, and allow the dough to rise, without any baking. This cycle typically lasts between 1.5 to 2 hours, depending on the model and the type of dough. It includes a series of mixing and kneading phases to develop gluten, followed by a controlled warming period for optimal yeast activation and proofing. The machine will often beep to signal the end of the cycle, indicating the dough is ready for removal and manual shaping. This feature is invaluable for preparing dough for pizzas, rolls, pretzels, and even pastries that require oven baking.
The Comprehensive Bake Cycle
In contrast, the bake cycle, often part of a full ‘basic’ or ‘whole wheat’ program, encompasses the entire bread-making process from start to finish. This includes mixing, kneading, rising, and finally, baking the loaf within the machine’s pan. The duration of a full bake cycle can range from 3 to 5 hours, influenced by the loaf size and crust darkness selected. The internal heating element activates during the final stage, transforming the raw dough into a fully baked loaf. This cycle is ideal for those who prefer a hands-off approach to making traditional sandwich bread or sweet breads.
Key Differences and When to Use Each
|
Our Picks for the Best Bread Maker in 2026
As an Amazon Associate I earn from qualifying purchases.
|
||
| Num | Product | Action |
|---|---|---|
| 1 | Cuisinart Bread Maker Machine, Stainless Steel Convection Bread Machine with 16 Menu Options, 3 Loaf Sizes Up to 2 Lb., 3 Crust Colors, Includes Measuring Cup, Spoon & Kneading Hook, CBK-210 |

|
| 2 | Rosewill 25-in-1 Automatic Bread Maker Machine with 3 Loaf Size up to 2 Lb, 700W High Power Dual Heater Bread Maker with BPA-free Nonstick Coating Pan, Max 15 Hours Delay Timer, Low Noise - Gray |
|
| 3 | 25-in-1 Bread Maker Machine with Automatic Dual Dispenser, 2LB Stainless Steel Breadmaker with Gluten-Free, Dough, Jam, Yogurt etc Settings, Silver |
|
| 4 | Bread Maker, 2.2LB 16-in-1 Bread Machine, Automatic Bread Maker Machine with Nonstick Ceramic Pan & 15H Timer & 1H Keep Warm for Beginner, Breadmaker with Gluten-Free, French, Yogurt, Recipe |
|
| 5 | Zojirushi BB-PDC20BA Home Bakery Virtuoso Plus Breadmaker, 2 lb. loaf of bread |
|
| 6 | Cuisinart Bread Maker Machine, Stainless Steel Automatic Bread Machine with 12 Menu Options, 3 Loaf Sizes up to 2 Lb., 3 Crust Colors, Removable Nonstick Baking Pan & Kneading Paddle, CBK-110NAS |
|
| 7 | Elite Gourmet Programmable Bread Maker, 2 lb Loaf, 3 Sizes, 19 Presets incl. Gluten-Free, Dough & Jam, Delay Timer, Black |
|
| 8 | Elite Gourmet Programmable Bread Maker, 2 lb Loaf, 3 Sizes, 19 Presets incl. Gluten-Free, Dough & Jam, Delay Timer, Mint |
|
| 9 | MERIOR 25-IN-1 Bread Maker with Visible Lid | 2lb Automatic Machine, Auto Nut Dispenser, 13-Hour Delay Timer, One-Touch Control & Recipes – Easy Operation, High Success for Homemade Bread |
|
| 10 | 2LB Bread Maker Machine, OSIPOTO 17 in 1 Automatic Stainless Steel Bread Machine, Non-stick, Beginner-Friendly Controls, 15 Hour Timer, Easy to Clean Low Noise, High Success Rate for Homemade Bread |
|
The primary distinction lies in the final output: the dough cycle yields unbaked, ready-to-shape dough, while the bake cycle produces a finished, baked loaf. You should use the dough cycle when you plan to shape the dough yourself and bake it in a conventional oven, or when making items like cinnamon rolls or focaccia. The bake cycle is best for standard bread loaves where convenience is paramount. Many recipes will specify which cycle to use, but understanding the underlying mechanics empowers you to adapt and experiment.
- Dough Cycle: Ideal for pizza, rolls, and oven-baked pastries.
- Bake Cycle: Perfect for hands-off sandwich bread and sweet loaves.
- Crust Control: Only applicable during a full bake cycle.
- Timer Function: Can be used with both, but consider dough freshness.
- Ingredient Addition: Often prompts for additions during both cycles.
Optimizing Your Bread Maker’s Performance
To get the most out of your bread maker, always consult your appliance’s manual for specific program details and timings. Pay attention to ingredient temperatures, especially water or milk, as this significantly impacts yeast activity. For dough cycles, ensure you remove the dough promptly after the cycle finishes to prevent over-proofing. For bake cycles, experiment with different crust settings to achieve your desired texture. Regular cleaning of the pan and paddle will also ensure consistent results and extend the life of your machine.
Advanced Settings and Customization
Beyond the basic dough and bake cycles, many bread makers offer advanced settings such as rapid bake, gluten-free, whole wheat, and even custom programs. The rapid bake cycle significantly shortens the overall time, often by reducing rise times, which can sometimes affect texture. Gluten-free settings are specifically calibrated for flours that lack gluten, requiring different kneading and rising profiles. Understanding these specialized programs allows you to broaden your baking repertoire. Always ensure your ingredients are fresh, especially yeast, for optimal performance across all settings.
