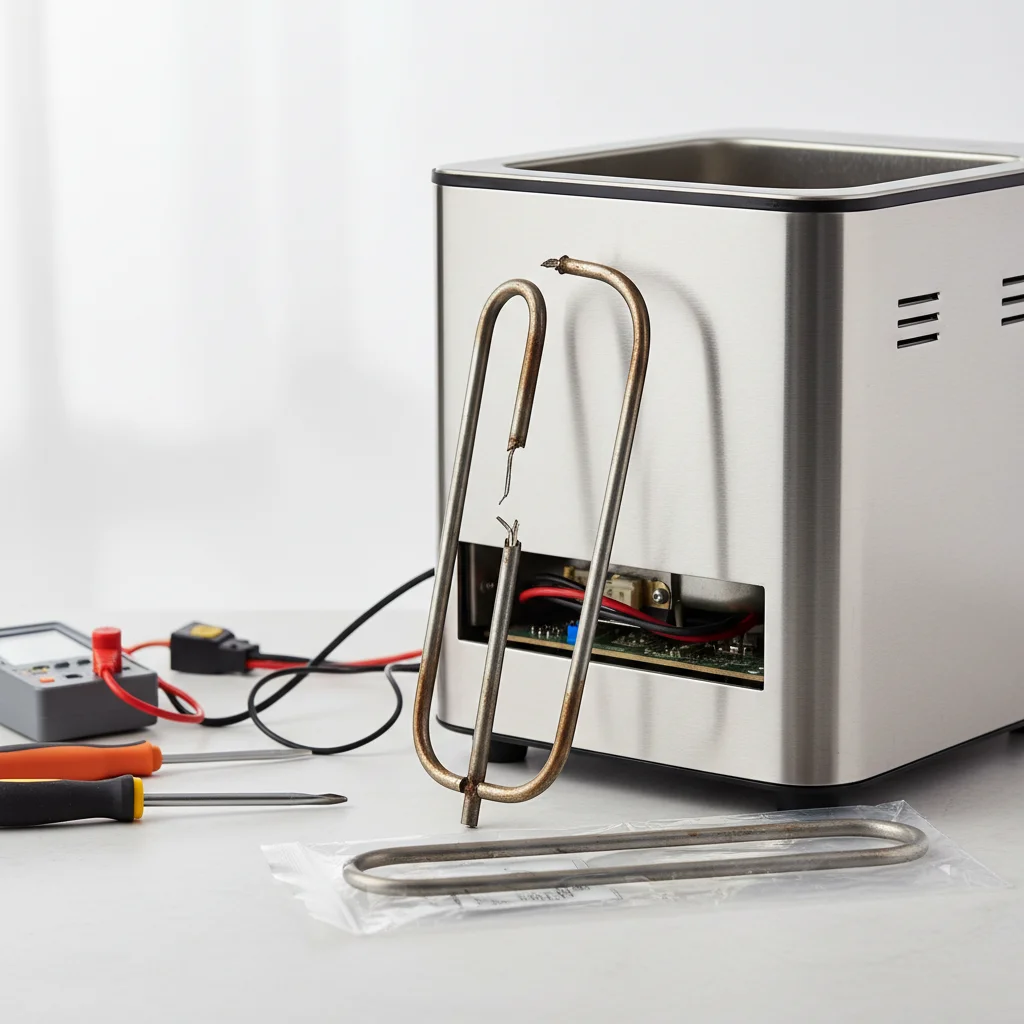
A broken heating element can bring your bread-making dreams to a sudden halt, but often, it’s a repairable issue. Identifying and replacing a faulty heating element in your bread maker is a straightforward process that can save you the cost of a new appliance. This guide will walk you through the steps to diagnose the problem and perform the necessary repairs, ensuring your bread maker is back to baking perfect loaves in no time.
Diagnosing a Faulty Heating Element
The most common sign of a broken heating element is that your bread maker turns on, but the dough never bakes or remains cold. You might also notice an inconsistent bake, with some parts of the loaf cooked and others raw. Before disassembling your machine, perform a simple visual inspection. Look for any visible damage to the element itself, such as cracks or discoloration. For a more definitive test, use a multimeter to check for continuity across the heating element’s terminals. A reading of infinite resistance indicates a break in the circuit, confirming the element is faulty. For expert home kitchen reviews on this site.
Safety First: Preparing for Repair
Before you begin any repair work, always unplug your bread maker from the power outlet. This is crucial to prevent electrical shock. Gather the necessary tools, which typically include a screwdriver set (Phillips and flathead), needle-nose pliers, and potentially a wire stripper. It’s also a good idea to have a small container to keep screws organized as you disassemble the unit. Work in a well-lit area and take photos at each step of disassembly to aid in reassembly.
Accessing and Removing the Old Heating Element
|
Our Picks for the Best Bread Maker in 2026
As an Amazon Associate I earn from qualifying purchases.
|
||
| Num | Product | Action |
|---|---|---|
| 1 | Rosewill 25-in-1 Automatic Bread Maker Machine with 3 Loaf Size up to 2 Lb, 700W High Power Dual Heater Bread Maker with BPA-free Nonstick Coating Pan, Max 15 Hours Delay Timer, Low Noise - Gray |

|
| 2 | Cuisinart Bread Maker Machine, Stainless Steel Convection Bread Machine with 16 Menu Options, 3 Loaf Sizes Up to 2 Lb., 3 Crust Colors, Includes Measuring Cup, Spoon & Kneading Hook, CBK-210 |
|
| 3 | 25-in-1 Bread Maker Machine with Automatic Dual Dispenser, 2LB Stainless Steel Breadmaker with Gluten-Free, Dough, Jam, Yogurt etc Settings, Silver |
|
| 4 | MERIOR 25-IN-1 Bread Maker with Visible Lid | 2lb Automatic Machine, Auto Nut Dispenser, 13-Hour Delay Timer, One-Touch Control & Recipes – Easy Operation, High Success for Homemade Bread |
|
| 5 | Elite Gourmet Programmable Bread Maker, 2 lb Loaf, 3 Sizes, 19 Presets incl. Gluten-Free, Dough & Jam, Delay Timer, Mint |
|
| 6 | Bread Maker, 2.2LB 16-in-1 Bread Machine, Automatic Bread Maker Machine with Nonstick Ceramic Pan & 15H Timer & 1H Keep Warm for Beginner, Breadmaker with Gluten-Free, French, Yogurt, Recipe |
|
| 7 | 2LB Bread Maker Machine, OSIPOTO 17 in 1 Automatic Stainless Steel Bread Machine, Non-stick, Beginner-Friendly Controls, 15 Hour Timer, Easy to Clean Low Noise, High Success Rate for Homemade Bread |
|
| 8 | Elite Gourmet Programmable Bread Maker, 2 lb Loaf, 3 Sizes, 19 Presets incl. Gluten-Free, Dough & Jam, Delay Timer, Black |
|
| 9 | Cuisinart Bread Maker Machine, Stainless Steel Automatic Bread Machine with 12 Menu Options, 3 Loaf Sizes up to 2 Lb., 3 Crust Colors, Removable Nonstick Baking Pan & Kneading Paddle, CBK-110NAS |
|
| 10 | Zojirushi BB-PDC20BA Home Bakery Virtuoso Plus Breadmaker, 2 lb. loaf of bread |
|
To access the heating element, you’ll need to remove the outer casing of your bread maker. This usually involves unscrewing several screws on the bottom and sides of the appliance. Carefully lift off the casing, being mindful of any wires connected to control panels. Once the casing is removed, locate the heating element, which is typically a metal coil or rod situated around the baking chamber. Disconnect the wires leading to the heating element, usually by gently pulling them off spade connectors or unscrewing them. Then, unmount the element from its housing, which may involve removing a few more screws or clips.
- Unplug the bread maker from the power source.
- Remove the bottom and side screws of the outer casing.
- Carefully lift the outer casing, noting wire connections.
- Locate the heating element around the baking chamber.
- Disconnect the electrical wires from the element.
- Unscrew or unclip the heating element from its mounting.
Installing the New Heating Element
With the old element removed, it’s time to install the replacement. Ensure your new heating element is compatible with your specific bread maker model. Carefully position the new element in the same manner as the old one, securing it with the screws or clips you removed earlier. Reconnect the electrical wires to the new element, ensuring a snug and secure connection. Double-check all connections to prevent any loose wiring that could cause future issues.
Reassembly and Testing Your Bread Maker
Once the new heating element is securely in place and all wires are reconnected, carefully reattach the outer casing of your bread maker. Make sure all screws are tightened properly, but avoid over-tightening, which could strip the plastic. Before baking a full loaf, perform a test run. Plug in your bread maker and select a short bake cycle. Monitor the appliance to ensure the heating element warms up correctly and consistently. If everything appears to be working as expected, you’ve successfully repaired your bread maker and are ready to enjoy fresh, homemade bread once again.
