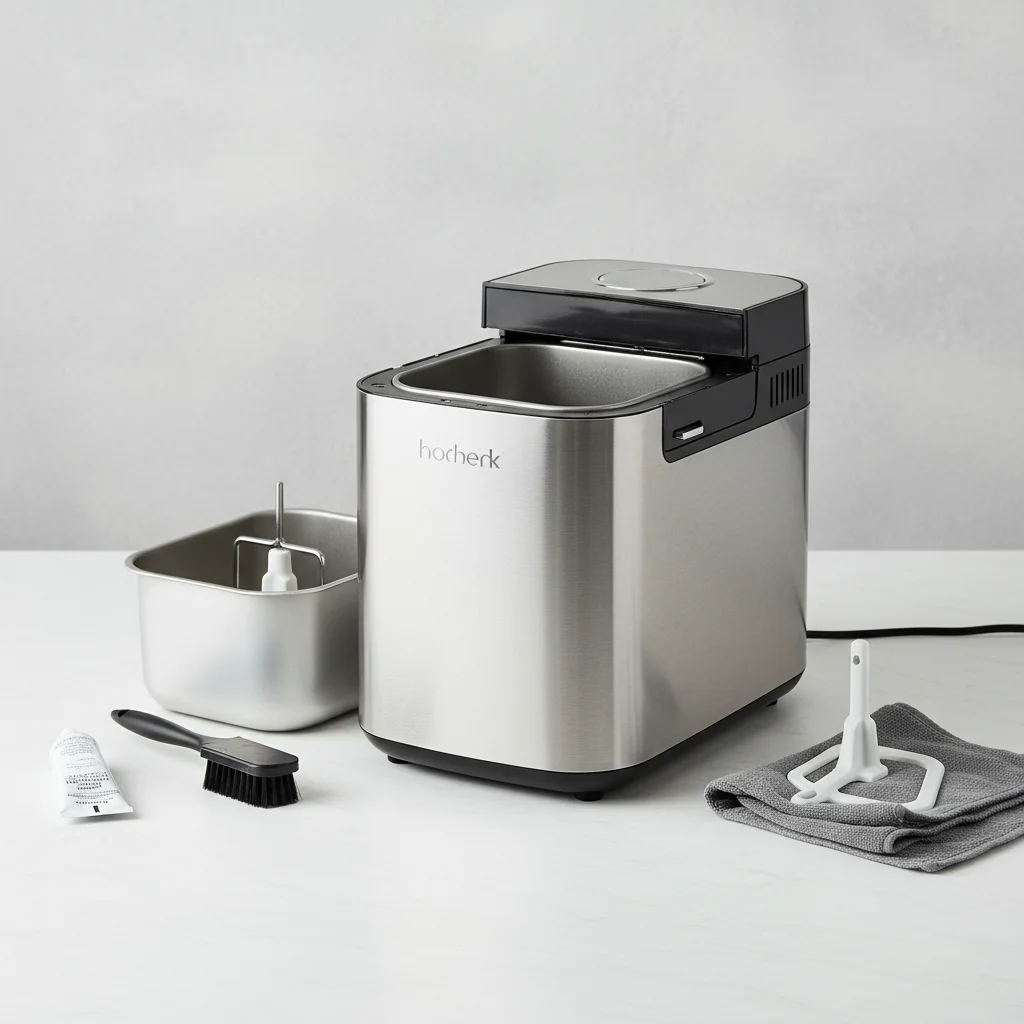
Proper bread maker maintenance is crucial for extending the lifespan of your appliance and ensuring consistent baking results. By following a few simple steps, you can keep your bread maker running smoothly for years, preventing common issues like premature wear and tear or inconsistent loaf quality. This guide will walk you through the essential maintenance tasks, from routine cleaning to addressing specific component care, helping you get the most out of your investment.
Routine Cleaning for Optimal Performance
Regular cleaning is the cornerstone of effective bread maker maintenance. After each use, allow the bread maker to cool completely before wiping down the interior and exterior. Use a soft, damp cloth to remove any crumbs or flour residue from the baking chamber and the heating element area. For the non-stick bread pan, always use a soft sponge and mild dish soap; abrasive scrubbers can damage the non-stick coating, leading to sticking and difficult removal of loaves. Ensure all parts are thoroughly dry before reassembling or storing the appliance.
Caring for the Bread Pan and Paddle
The bread pan and kneading paddle are critical components that require specific attention. To prevent damage to the non-stick coating of the pan, avoid using metal utensils when removing bread. Instead, opt for silicone or wooden tools. If the paddle becomes stuck to the drive shaft, fill the pan with warm, soapy water and let it soak for 15-20 minutes to loosen any baked-on dough. Gently twist and pull the paddle to remove it. Regularly inspect the paddle for any signs of wear or damage, as a worn paddle can affect kneading efficiency and loaf texture.
Inspecting and Cleaning the Drive Belt and Motor Area
|
Our Picks for the Best Bread Maker in 2026
As an Amazon Associate I earn from qualifying purchases.
|
||
| Num | Product | Action |
|---|---|---|
| 1 | 25-in-1 Bread Maker Machine with Automatic Dual Dispenser, 2LB Stainless Steel Breadmaker with Gluten-Free, Dough, Jam, Yogurt etc Settings, Silver |

|
| 2 | Rosewill 25-in-1 Automatic Bread Maker Machine with 3 Loaf Size up to 2 Lb, 700W High Power Dual Heater Bread Maker with BPA-free Nonstick Coating Pan, Max 15 Hours Delay Timer, Low Noise - Gray |
|
| 3 | Bread Maker, 2.2LB 16-in-1 Bread Machine, Automatic Bread Maker Machine with Nonstick Ceramic Pan & 15H Timer & 1H Keep Warm for Beginner, Breadmaker with Gluten-Free, French, Yogurt, Recipe |
|
| 4 | Cuisinart Bread Maker Machine, Stainless Steel Convection Bread Machine with 16 Menu Options, 3 Loaf Sizes Up to 2 Lb., 3 Crust Colors, Includes Measuring Cup, Spoon & Kneading Hook, CBK-210 |
|
| 5 | MERIOR 25-IN-1 Bread Maker with Visible Lid | 2lb Automatic Machine, Auto Nut Dispenser, 13-Hour Delay Timer, One-Touch Control & Recipes – Easy Operation, High Success for Homemade Bread |
|
| 6 | Elite Gourmet Programmable Bread Maker, 2 lb Loaf, 3 Sizes, 19 Presets incl. Gluten-Free, Dough & Jam, Delay Timer, Black |
|
| 7 | 2LB Bread Maker Machine, OSIPOTO 17 in 1 Automatic Stainless Steel Bread Machine, Non-stick, Beginner-Friendly Controls, 15 Hour Timer, Easy to Clean Low Noise, High Success Rate for Homemade Bread |
|
| 8 | Zojirushi BB-PDC20BA Home Bakery Virtuoso Plus Breadmaker, 2 lb. loaf of bread |
|
| 9 | Cuisinart Bread Maker Machine, Stainless Steel Automatic Bread Machine with 12 Menu Options, 3 Loaf Sizes up to 2 Lb., 3 Crust Colors, Removable Nonstick Baking Pan & Kneading Paddle, CBK-110NAS |
|
| 10 | Elite Gourmet Programmable Bread Maker, 2 lb Loaf, 3 Sizes, 19 Presets incl. Gluten-Free, Dough & Jam, Delay Timer, Mint |
|
While less frequent, inspecting the drive belt and motor area is an important part of long-term bread maker maintenance. If you notice unusual noises during operation or inconsistent kneading, it might indicate an issue with the drive belt. Consult your bread maker’s manual for instructions on how to access this area safely. Typically, this involves carefully removing the bottom panel. Use a soft brush or compressed air to clear any flour dust or debris that may have accumulated around the motor and belt, as this can impede performance and lead to overheating. If the belt appears cracked or stretched, it may need replacement.
Storing Your Bread Maker Properly
Proper storage can significantly impact your bread maker’s longevity. When not in use, store your bread maker in a clean, dry place away from direct sunlight and extreme temperatures. Ensure the lid is closed to prevent dust and insects from entering the baking chamber. If you live in a humid environment, consider placing a desiccant packet inside the bread maker to absorb moisture and prevent mold or mildew growth. Never store heavy objects on top of your bread maker, as this can damage the lid or internal components.
Troubleshooting Common Maintenance Issues
Even with regular maintenance, you might encounter minor issues. Here are some quick fixes:
- Sticky Bread Pan: Ensure the non-stick coating is intact. If damaged, consider replacing the pan.
- Noisy Operation: Check for loose parts or debris around the kneading paddle and drive belt.
- Uneven Baking: Clean the heating element and ensure proper air circulation around the machine.
- Dough Not Kneading: Verify the paddle is correctly attached and the drive belt is functioning.
- Odor During Baking: Clean any baked-on residue from the heating element and interior.
By adhering to these maintenance practices, you can ensure your bread maker continues to produce delicious, homemade loaves for many years to come. Regular care not only extends the life of your appliance but also guarantees optimal performance and prevents frustrating baking mishaps.
