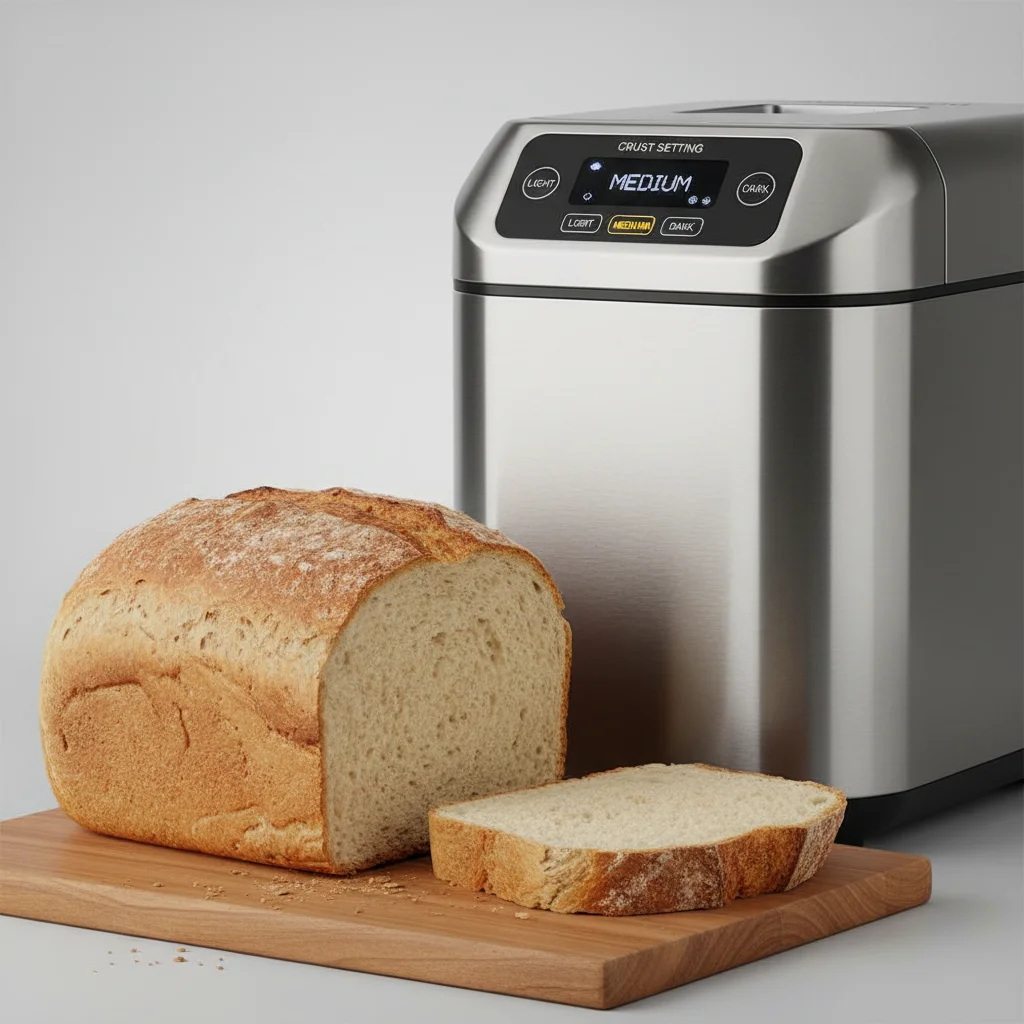
Achieving the perfect crust on your homemade bread is a nuanced art, and it largely depends on understanding and utilizing your bread maker’s crust settings. Most modern bread makers offer at least three distinct crust settings: light, medium, and dark, allowing you to customize the texture and color of your loaf’s exterior to your exact preference.
The crust setting primarily controls the duration and intensity of the final baking phase. A lighter setting will result in a softer, paler crust, ideal for sandwiches or those who prefer a less chewy texture. The medium setting is the most common choice, providing a balanced golden-brown crust with a slight crispness. For a robust, crunchy, and deeply colored crust, the dark setting extends the baking time and often increases the temperature slightly, perfect for artisan-style breads or loaves meant for dipping.
Understanding How Crust Settings Work
When you select a crust setting, your bread maker adjusts the final stages of the baking cycle. This isn’t just about temperature; it also involves the duration of the high-heat phase. The Maillard reaction, responsible for the browning and flavor development in bread, is heavily influenced by these settings. A longer, hotter bake promotes more extensive caramelization of sugars and amino acids on the surface, leading to a darker, more complexly flavored crust.
Some advanced bread makers might even offer additional nuances, such as a ‘crispy’ or ‘extra dark’ option, further expanding your control. It’s important to note that the effectiveness of these settings can also be influenced by the recipe itself, particularly the sugar content, which accelerates browning.
Tips for Optimizing Your Bread Maker’s Crust
To truly master your bread maker’s crust settings, consider a few key strategies. Firstly, always refer to your bread maker’s manual; it often provides specific guidance on how each setting interacts with different bread types. Experimentation is also crucial. Start with the medium setting for a new recipe and adjust from there based on your preferences.
- For a softer crust, try brushing the top of the loaf with milk or butter before the final bake cycle begins (if your machine allows for manual intervention).
- To achieve a crispier crust, a small spritz of water into the baking chamber during the last 10-15 minutes of baking can create steam, promoting a harder exterior.
- Avoid opening the lid during the final baking phase, as this can release steam and affect crust development.
- Consider the type of flour; whole wheat flours tend to brown more readily than white flours due to their higher sugar content.
- Ensure your bread maker pan is clean and free of residue, as this can impact heat distribution and crust consistency.
Troubleshooting Common Crust Issues
|
Our Picks for the Best Bread Maker in 2026
As an Amazon Associate I earn from qualifying purchases.
|
||
| Num | Product | Action |
|---|---|---|
| 1 | Elite Gourmet Programmable Bread Maker, 2 lb Loaf, 3 Sizes, 19 Presets incl. Gluten-Free, Dough & Jam, Delay Timer, Black |

|
| 2 | Elite Gourmet Programmable Bread Maker, 2 lb Loaf, 3 Sizes, 19 Presets incl. Gluten-Free, Dough & Jam, Delay Timer, Mint |
|
| 3 | Bread Maker, 2.2LB 16-in-1 Bread Machine, Automatic Bread Maker Machine with Nonstick Ceramic Pan & 15H Timer & 1H Keep Warm for Beginner, Breadmaker with Gluten-Free, French, Yogurt, Recipe |
|
| 4 | Zojirushi BB-PDC20BA Home Bakery Virtuoso Plus Breadmaker, 2 lb. loaf of bread |
|
| 5 | 2LB Bread Maker Machine, OSIPOTO 17 in 1 Automatic Stainless Steel Bread Machine, Non-stick, Beginner-Friendly Controls, 15 Hour Timer, Easy to Clean Low Noise, High Success Rate for Homemade Bread |
|
| 6 | Cuisinart Bread Maker Machine, Stainless Steel Automatic Bread Machine with 12 Menu Options, 3 Loaf Sizes up to 2 Lb., 3 Crust Colors, Removable Nonstick Baking Pan & Kneading Paddle, CBK-110NAS |
|
| 7 | 25-in-1 Bread Maker Machine with Automatic Dual Dispenser, 2LB Stainless Steel Breadmaker with Gluten-Free, Dough, Jam, Yogurt etc Settings, Silver |
|
| 8 | Rosewill 25-in-1 Automatic Bread Maker Machine with 3 Loaf Size up to 2 Lb, 700W High Power Dual Heater Bread Maker with BPA-free Nonstick Coating Pan, Max 15 Hours Delay Timer, Low Noise - Gray |
|
| 9 | MERIOR 25-IN-1 Bread Maker with Visible Lid | 2lb Automatic Machine, Auto Nut Dispenser, 13-Hour Delay Timer, One-Touch Control & Recipes – Easy Operation, High Success for Homemade Bread |
|
| 10 | Cuisinart Bread Maker Machine, Stainless Steel Convection Bread Machine with 16 Menu Options, 3 Loaf Sizes Up to 2 Lb., 3 Crust Colors, Includes Measuring Cup, Spoon & Kneading Hook, CBK-210 |
|
If your crust is consistently too pale, even on a dark setting, check your yeast. Inactive yeast can lead to poor rise and a less developed crust. Conversely, if your crust is too dark or burnt, even on a light setting, your bread maker might be running hot, or your recipe might have too much sugar. Reducing the sugar slightly or shortening the bake time (if possible) can help.
Another common issue is a crust that is too thick or tough. This can often be remedied by reducing the baking time slightly or ensuring your dough is adequately hydrated. A dry dough can lead to a dense crumb and a very hard crust. Always measure ingredients precisely, especially liquids, to ensure optimal dough consistency.
Beyond the Basic Settings: Advanced Crust Techniques
For those looking to push the boundaries of their bread maker, consider external factors. The ambient temperature and humidity in your kitchen can subtly affect crust development. In very dry environments, a slightly longer bake might be needed to achieve desired browning. Some bakers even lightly mist the top of the dough with water before the bake cycle starts to encourage a crispier finish, though this should be done cautiously to avoid damaging the machine.
Ultimately, the perfect crust is a matter of personal taste. By understanding the mechanics of your bread maker’s crust settings and experimenting with different techniques, you can consistently produce loaves that are not only delicious but also visually appealing, with a crust tailored exactly to your liking.
